JDBC with DbVisualizer
Solr’s JDBC driver supports DbVisualizer for querying Solr.
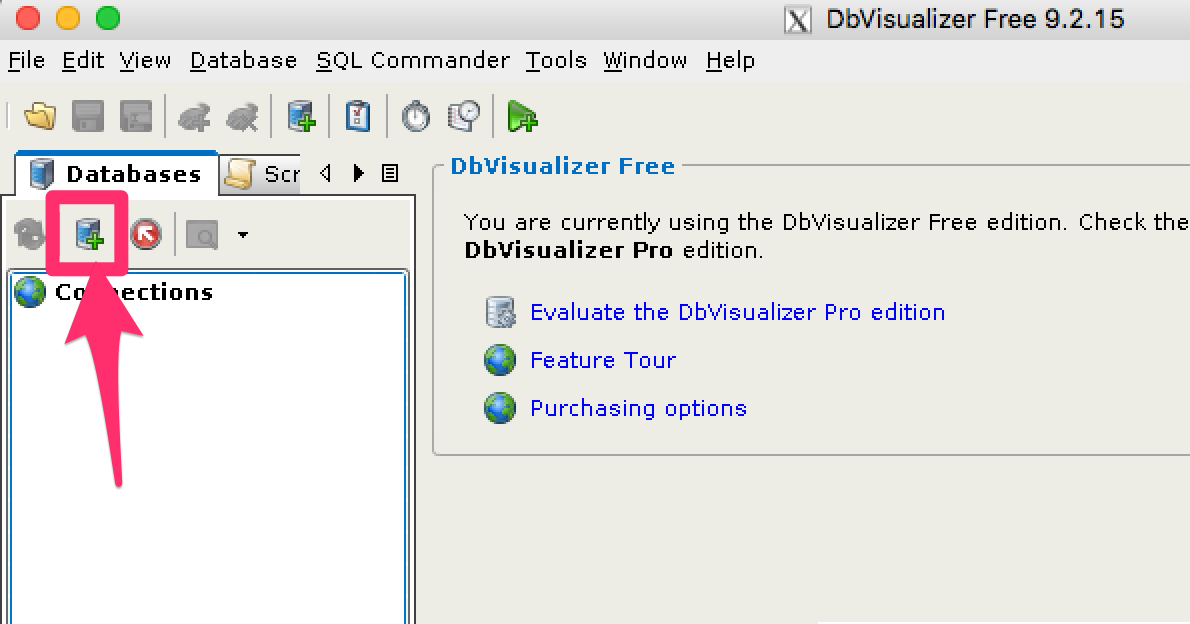
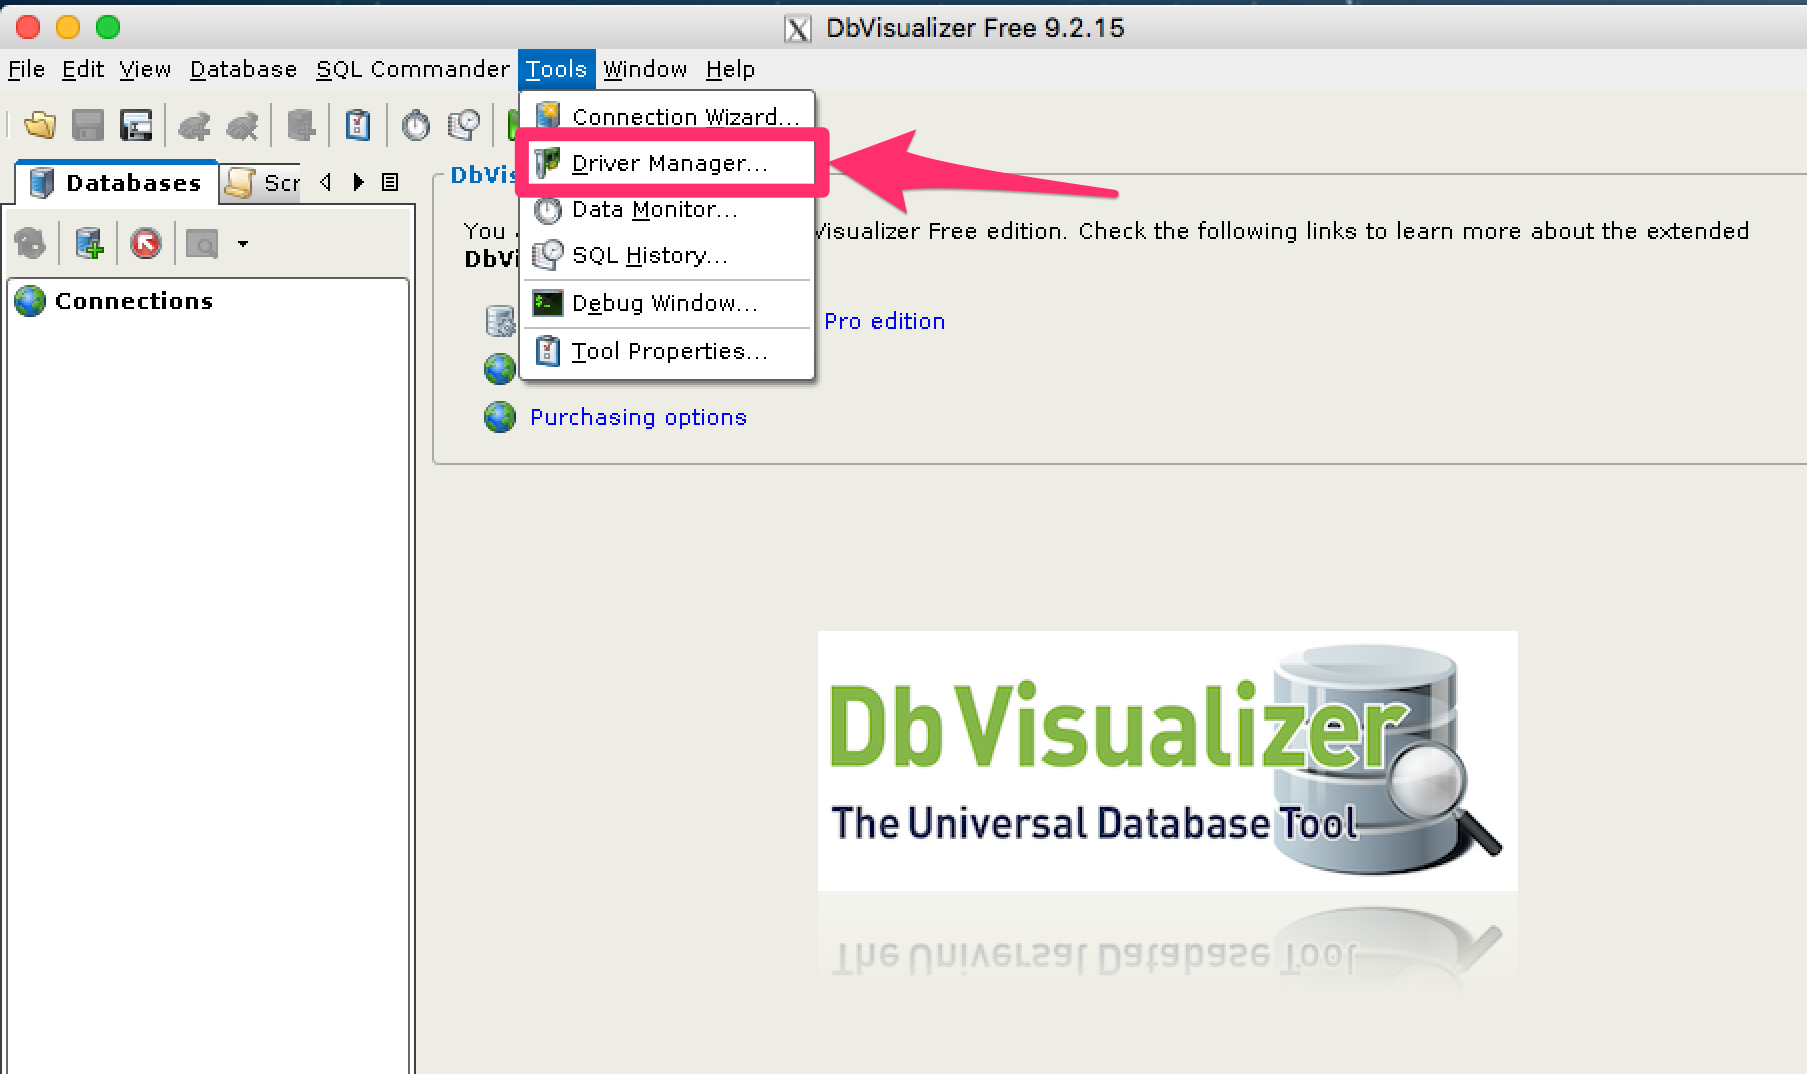
For DbVisualizer, you will need to create a new driver for Solr using the DbVisualizer Driver Manager.
This will add several SolrJ client (and dependency) .jar s to the DbVisualizer classpath.
See below for the required files.
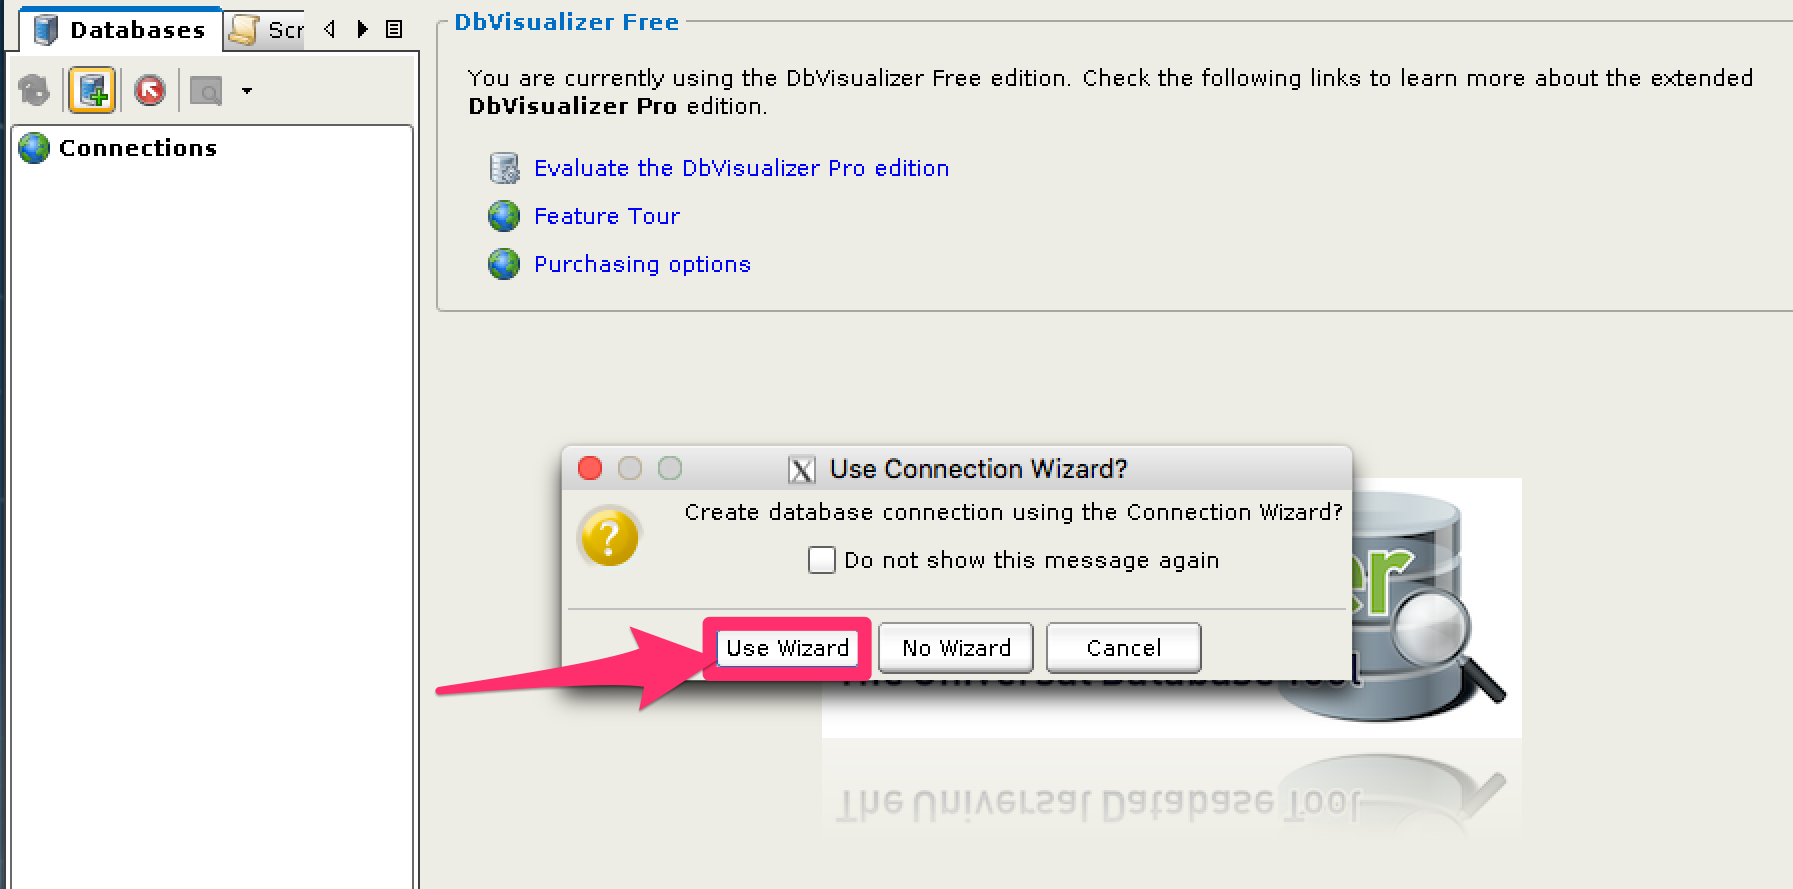
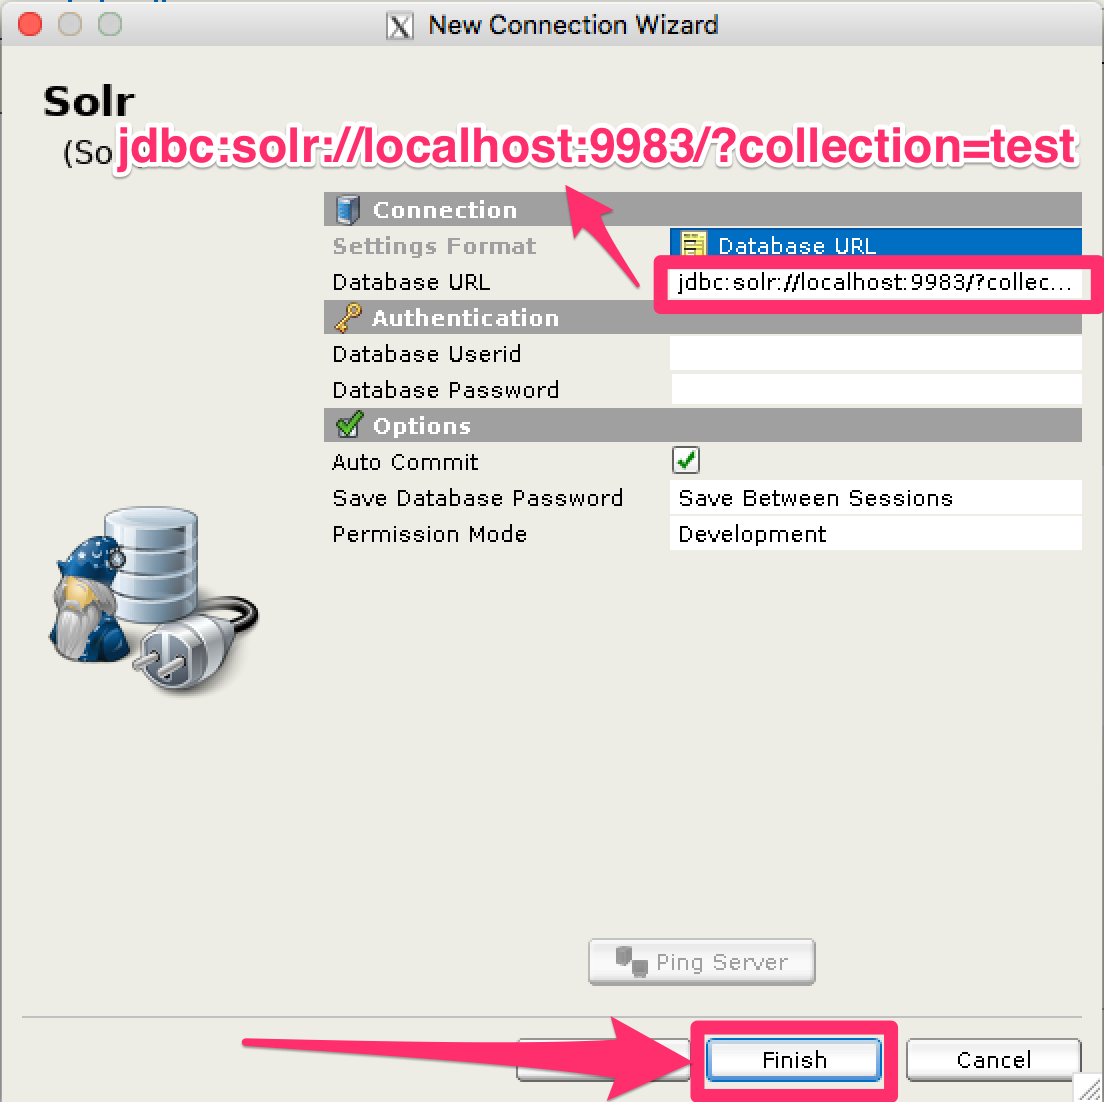
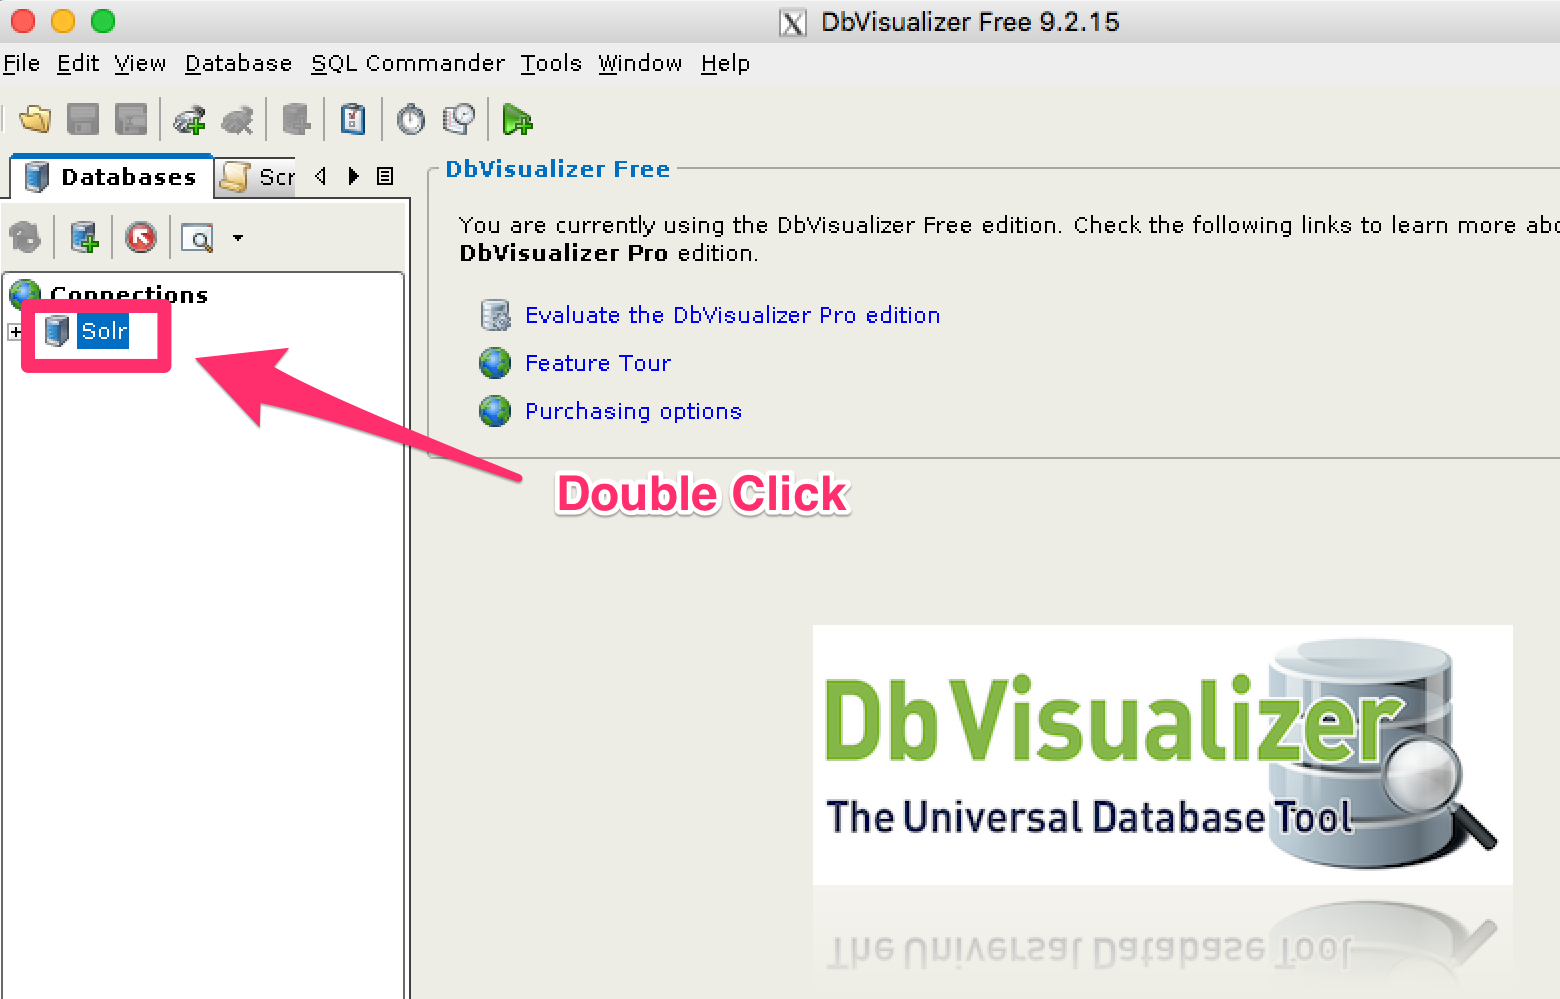
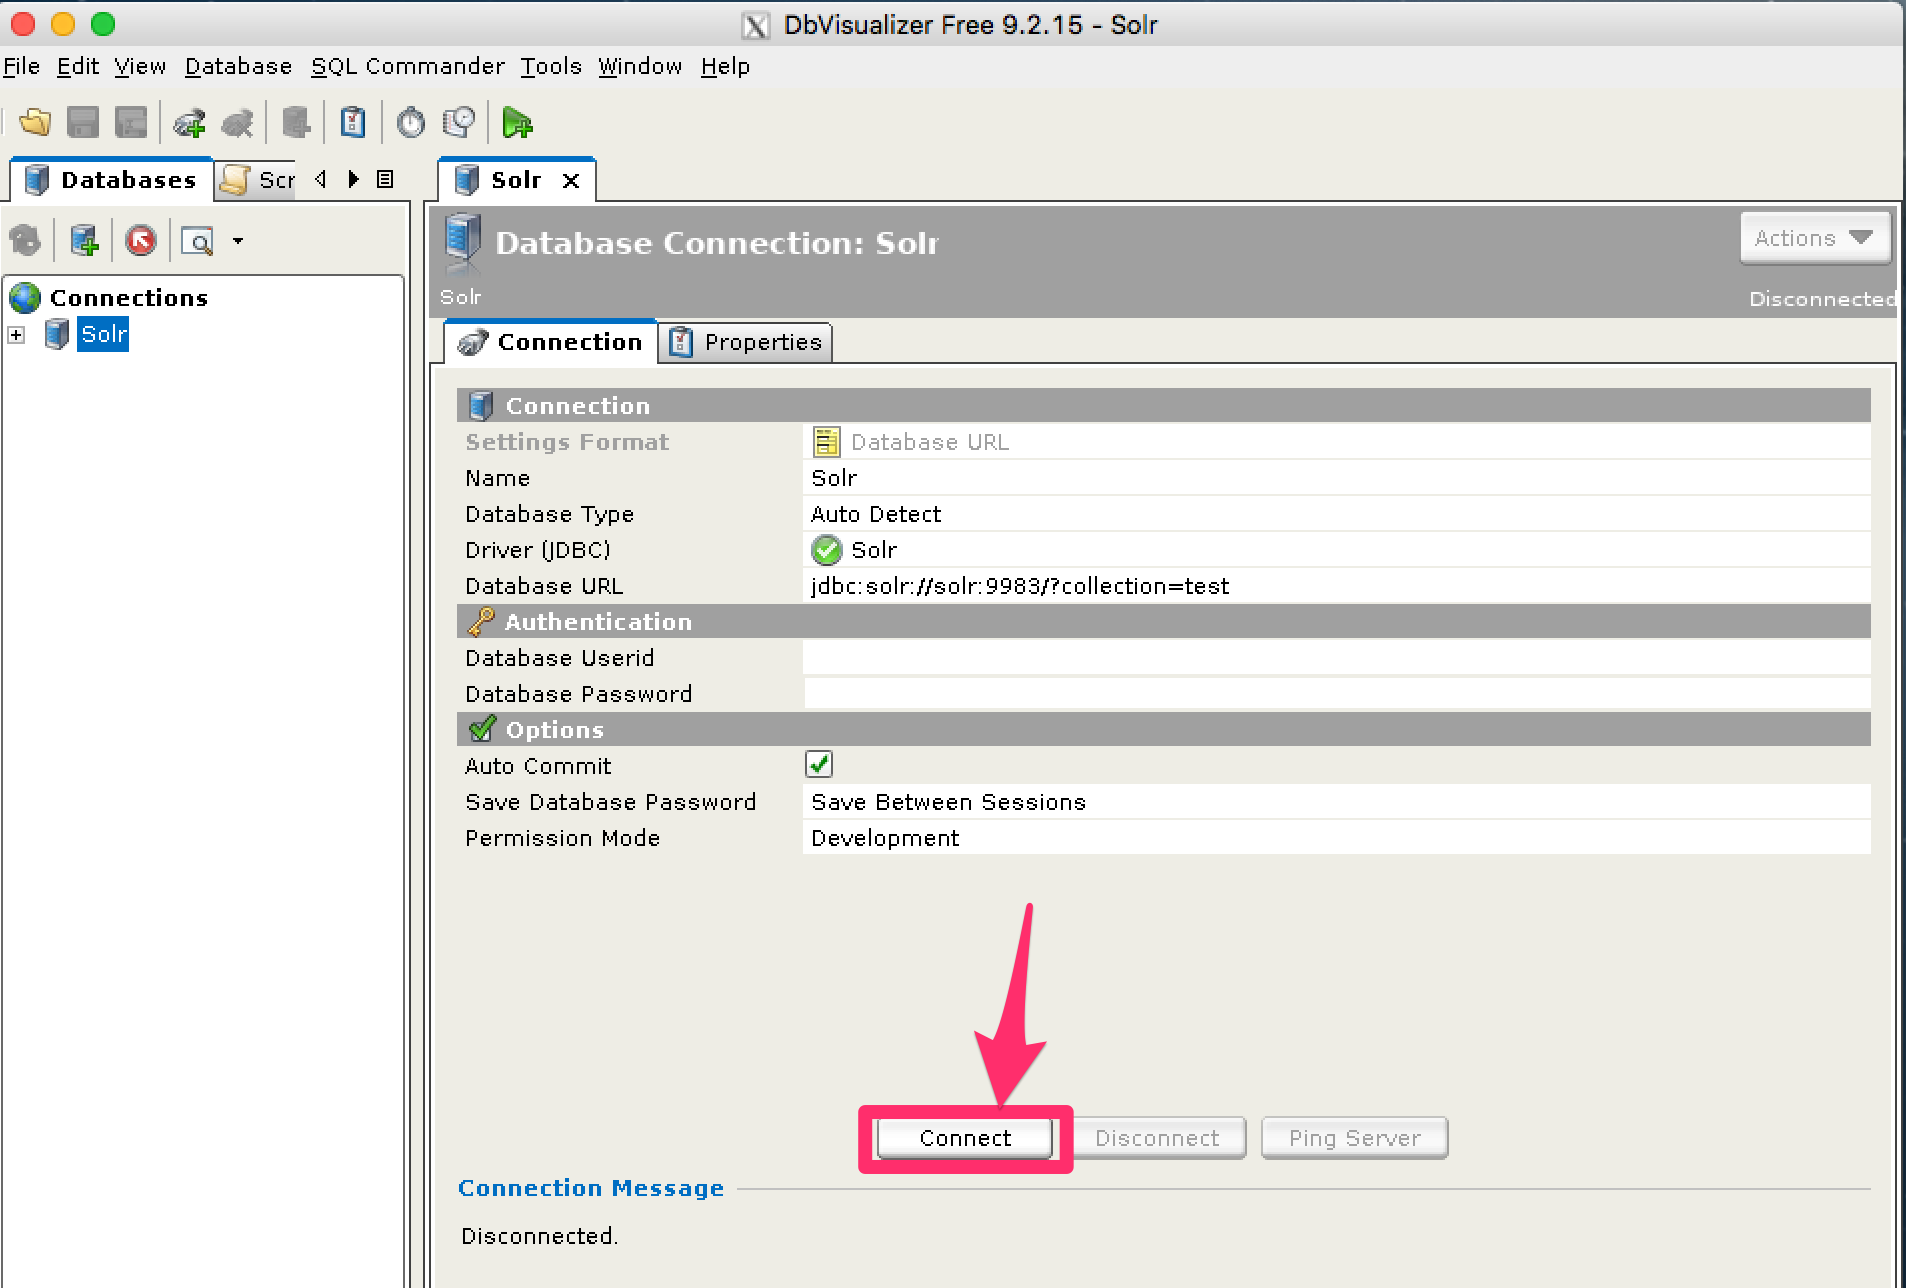
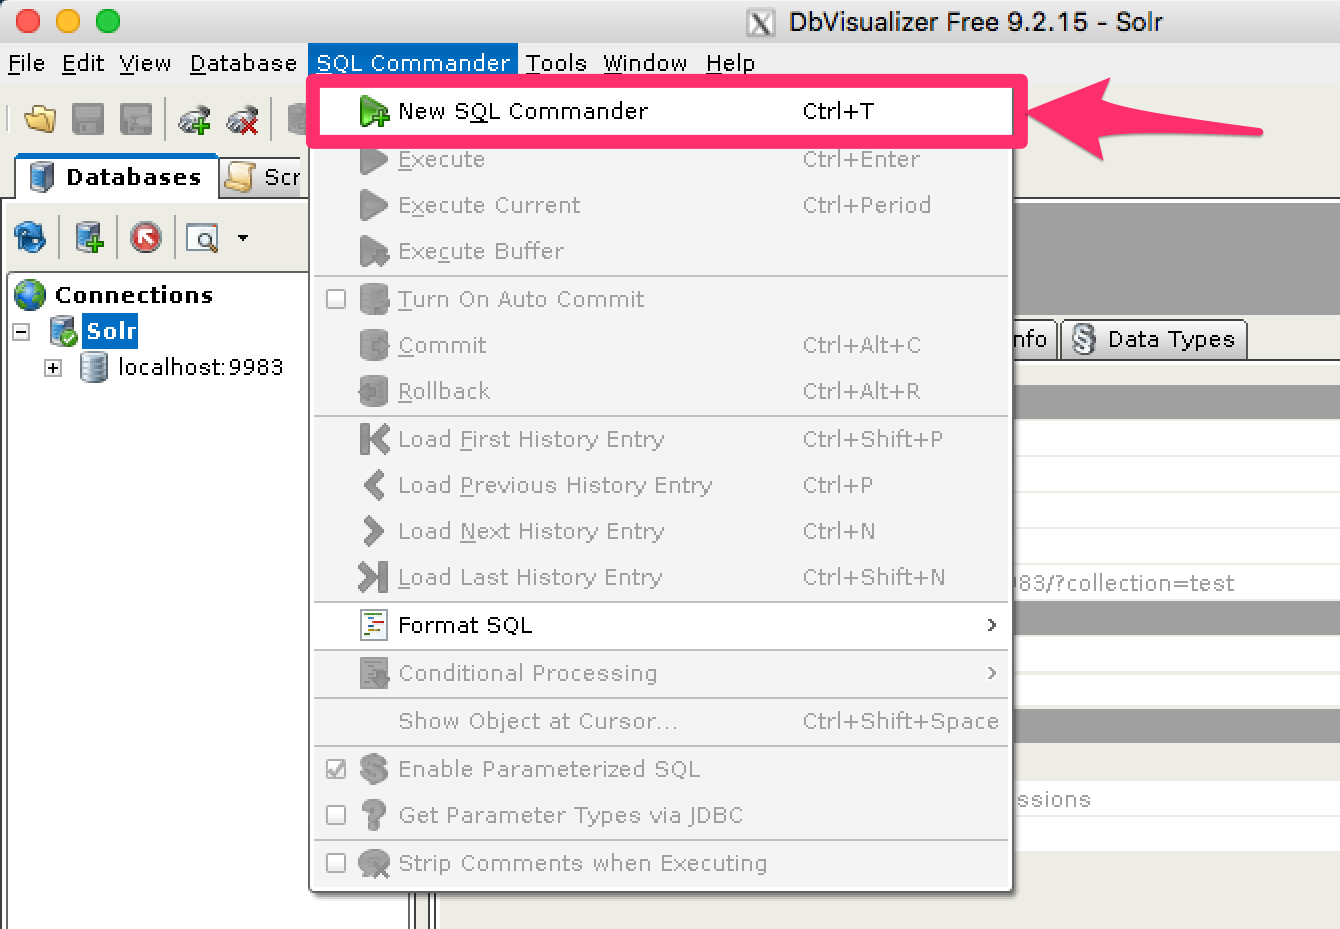
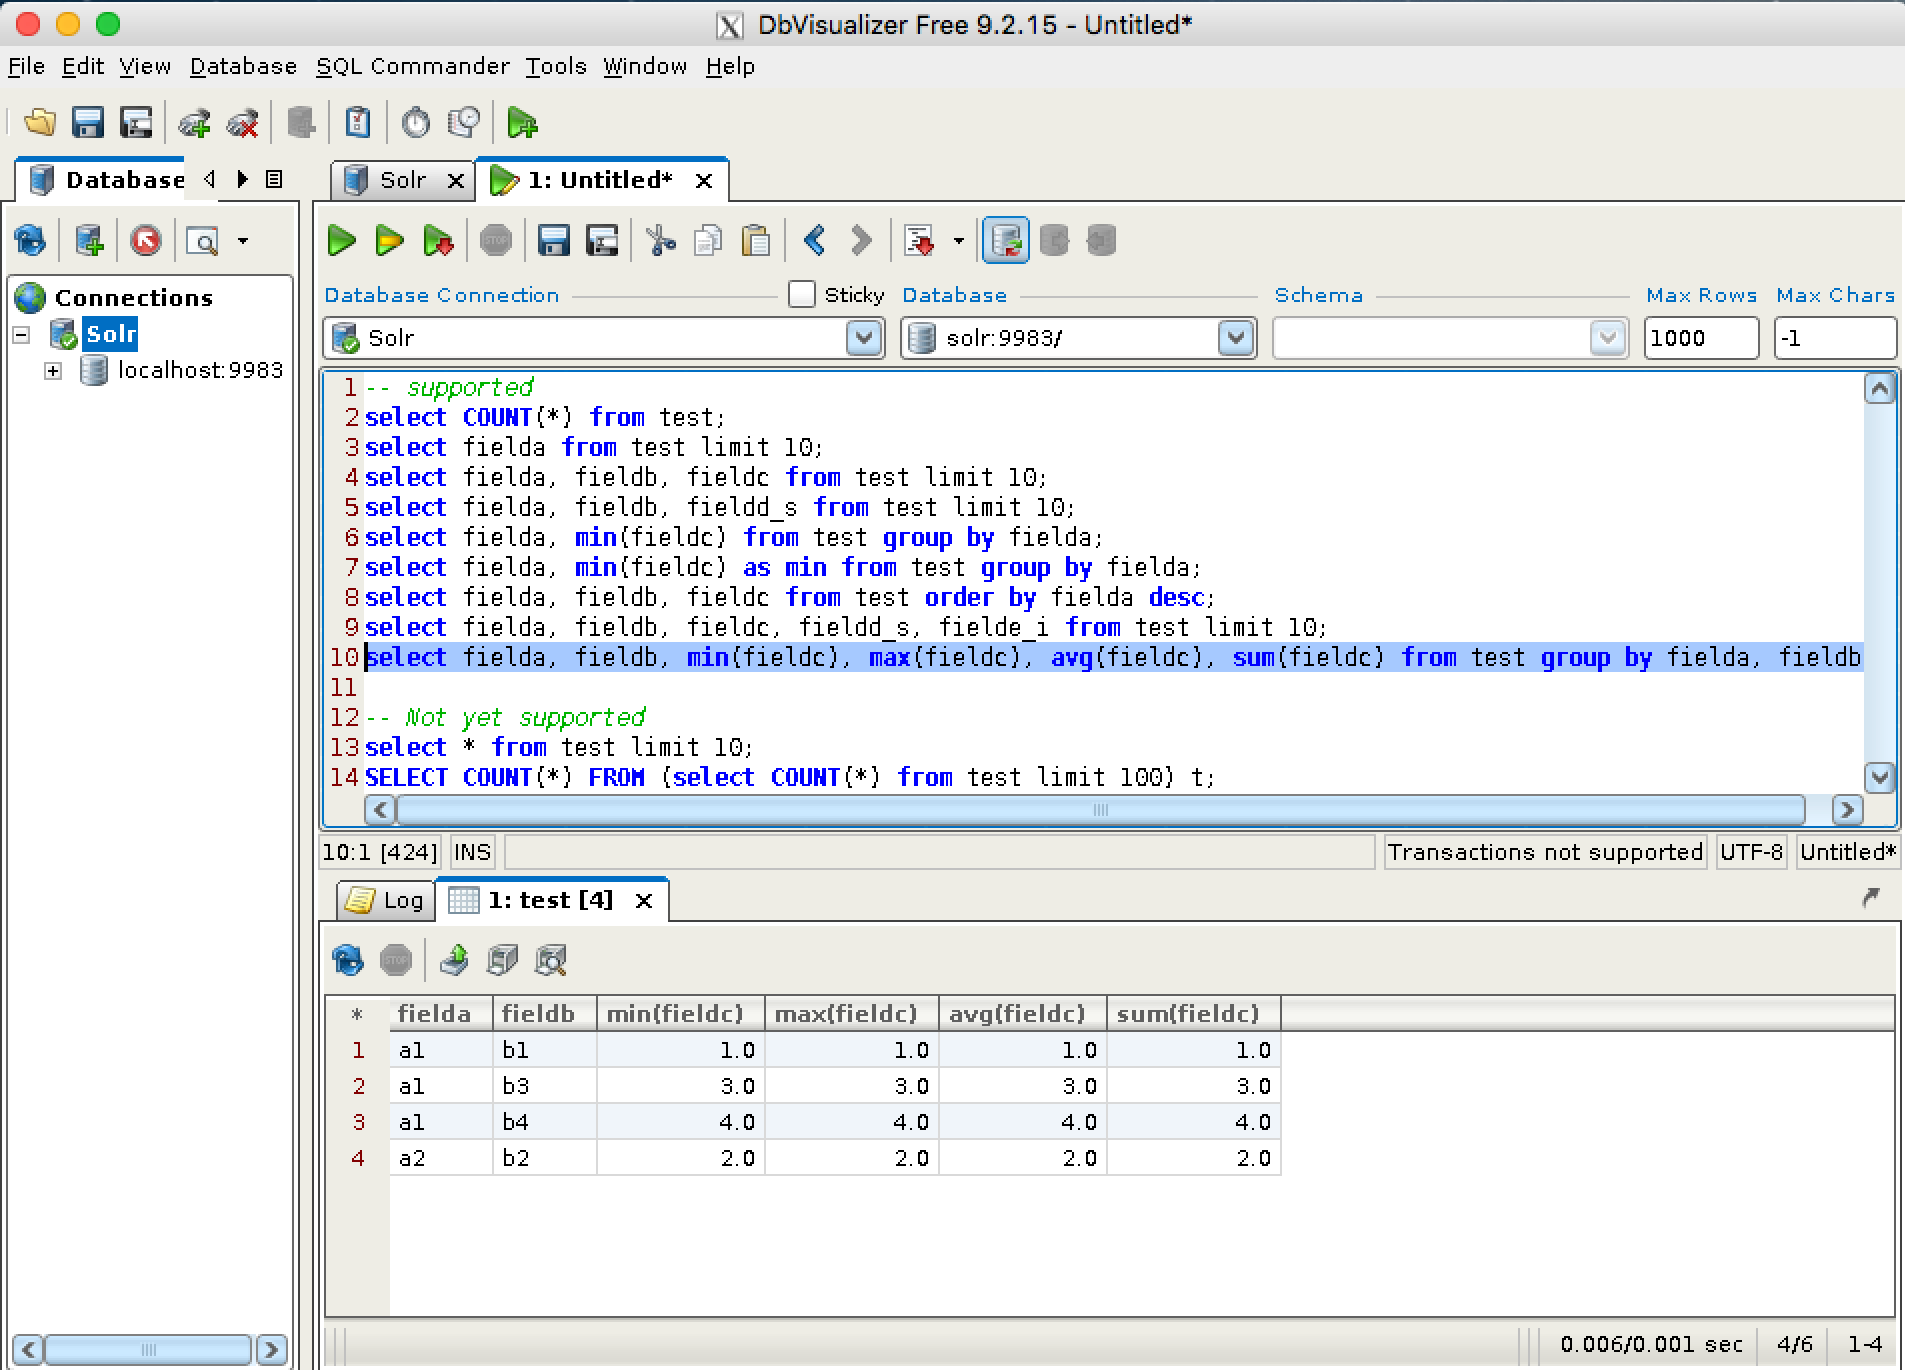
Once the driver has been created, you can create a connection to Solr with the connection string format outlined in the generic section and use the SQL Commander to issue queries.
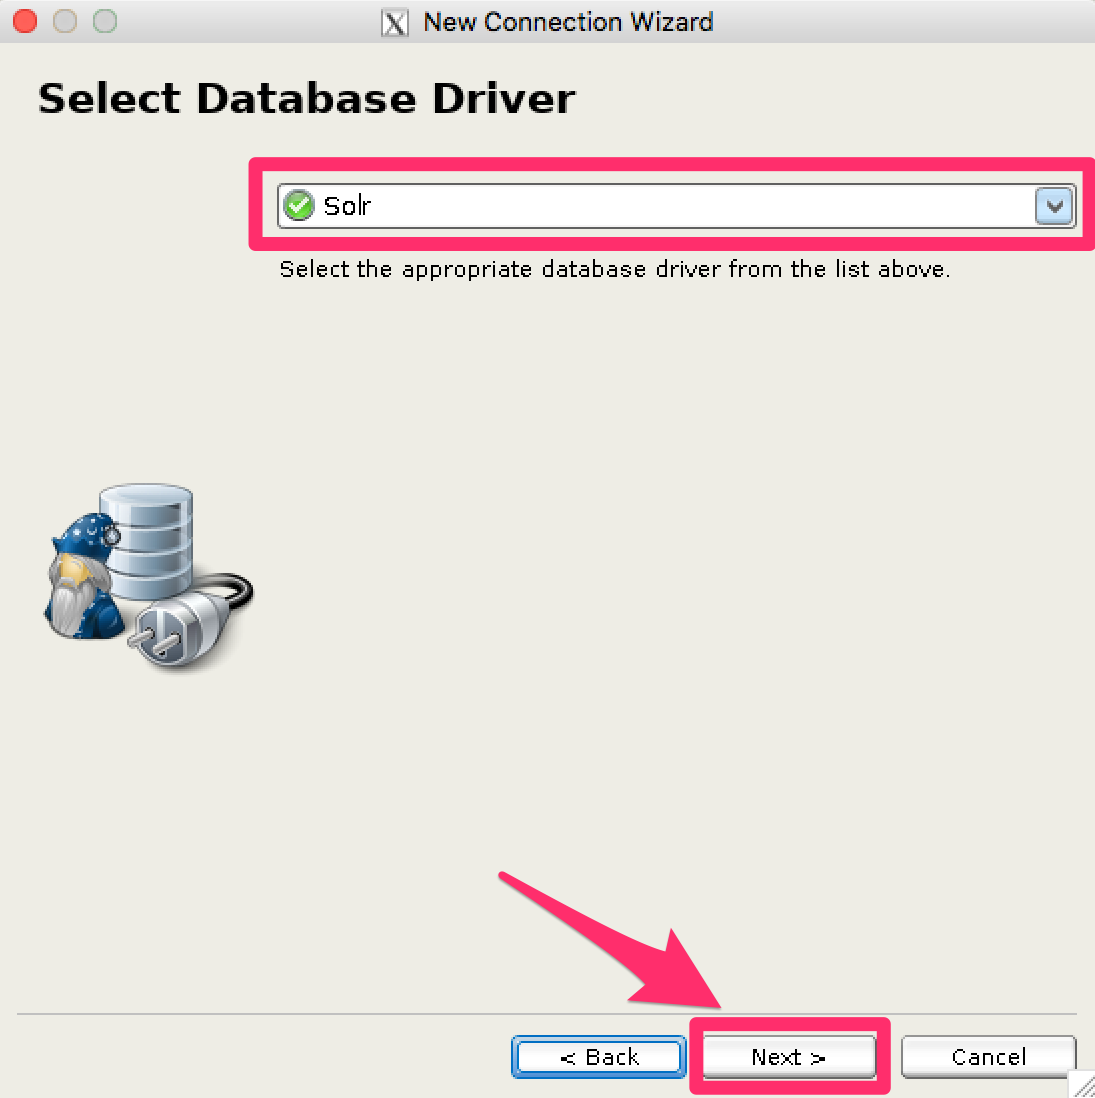
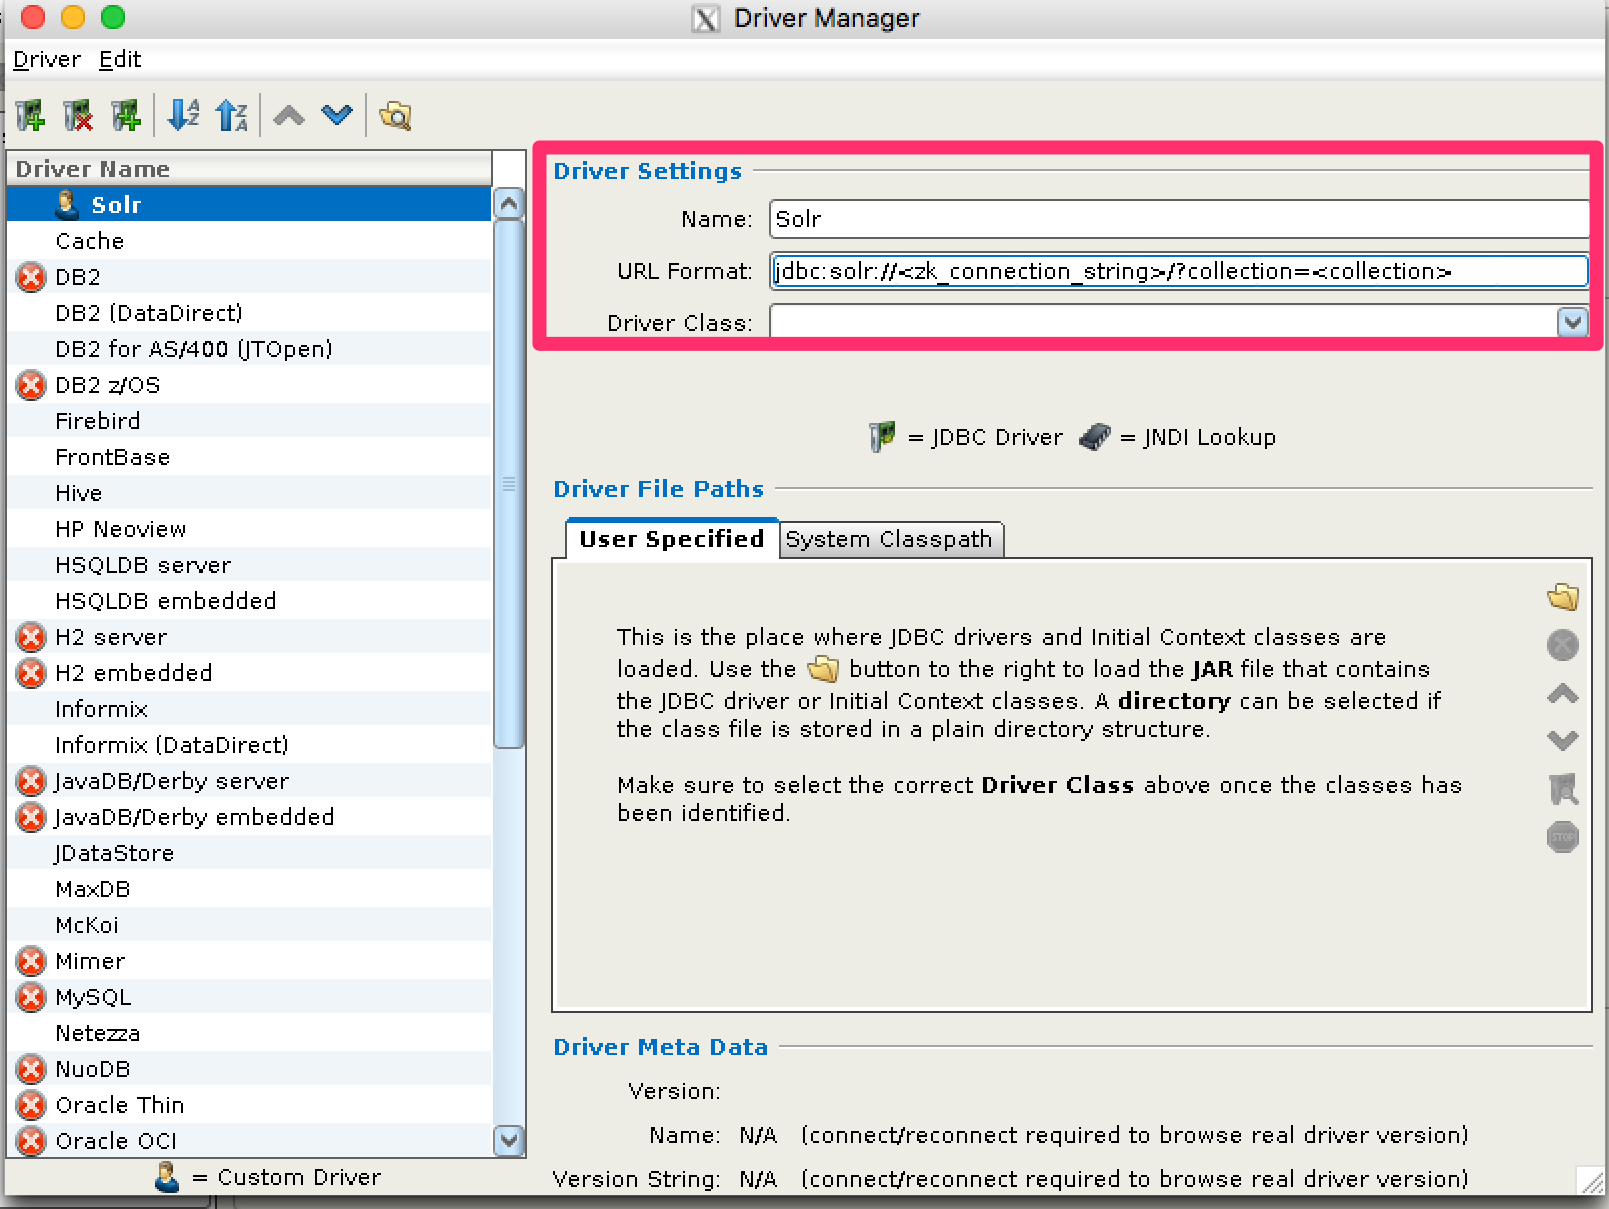
Setup Driver
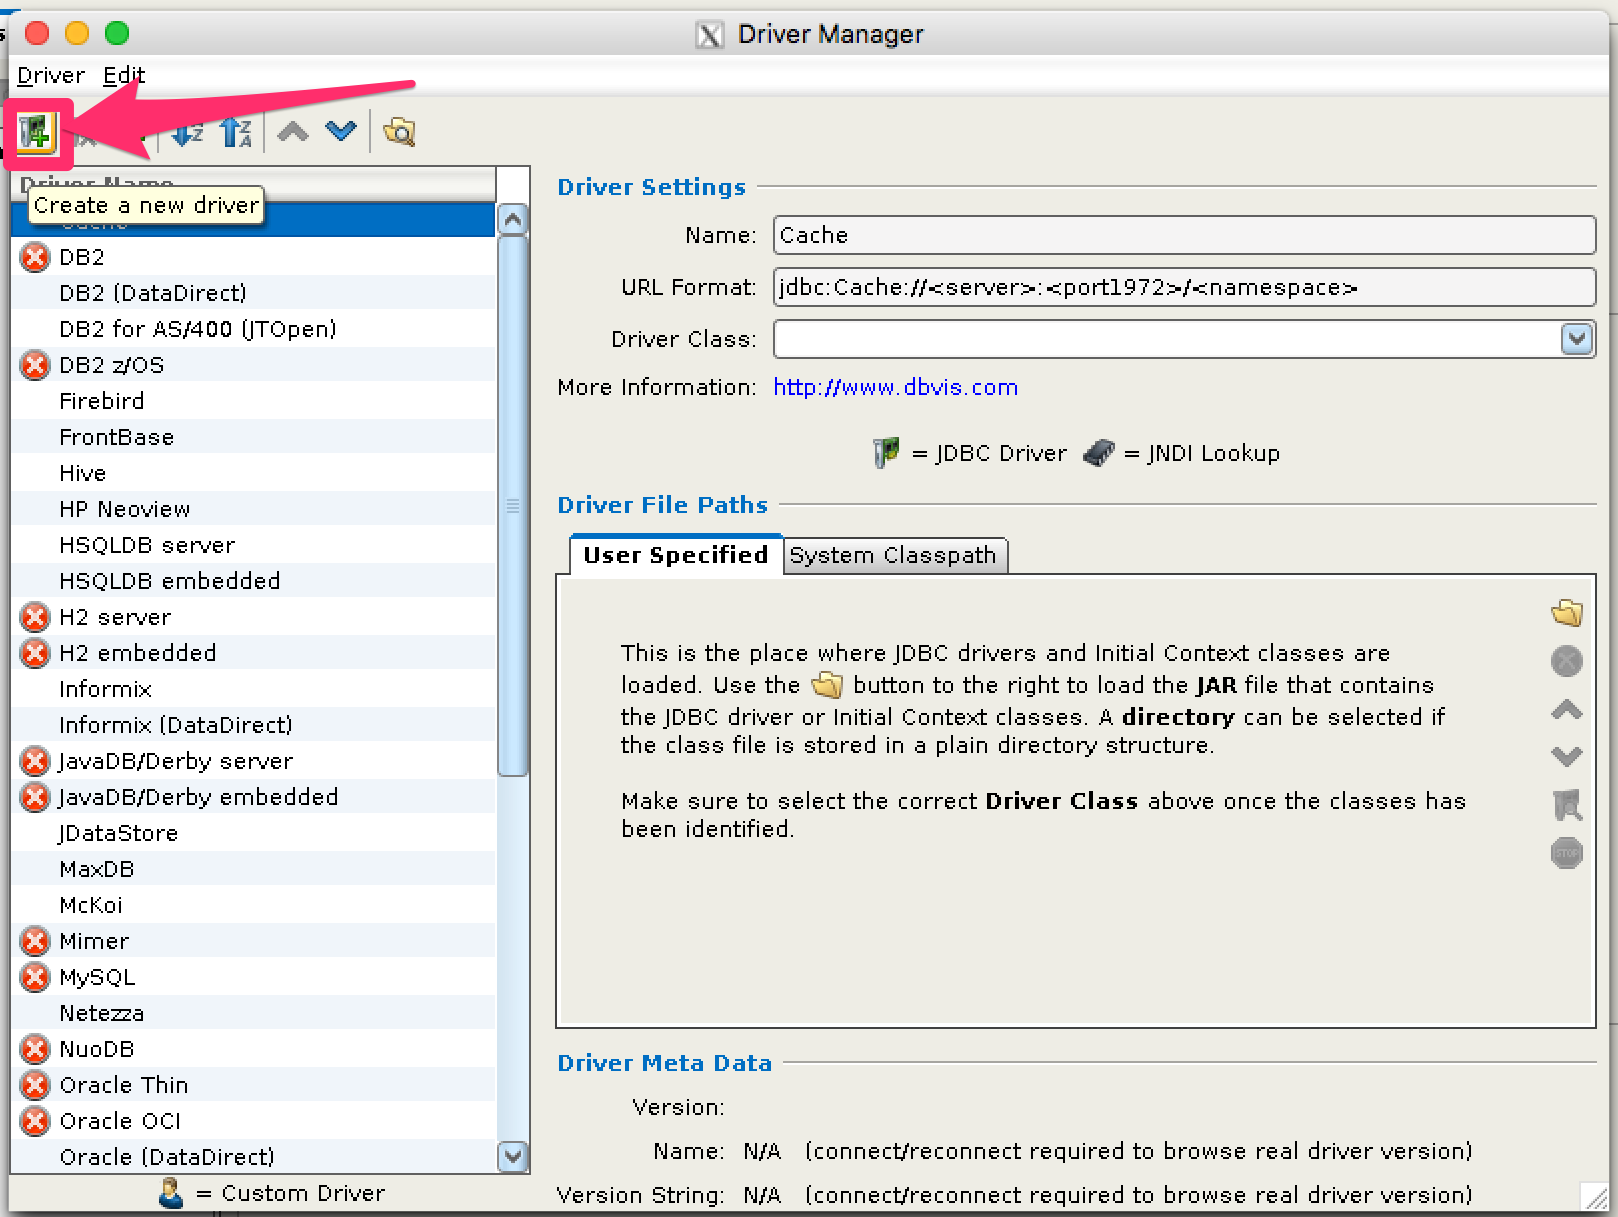
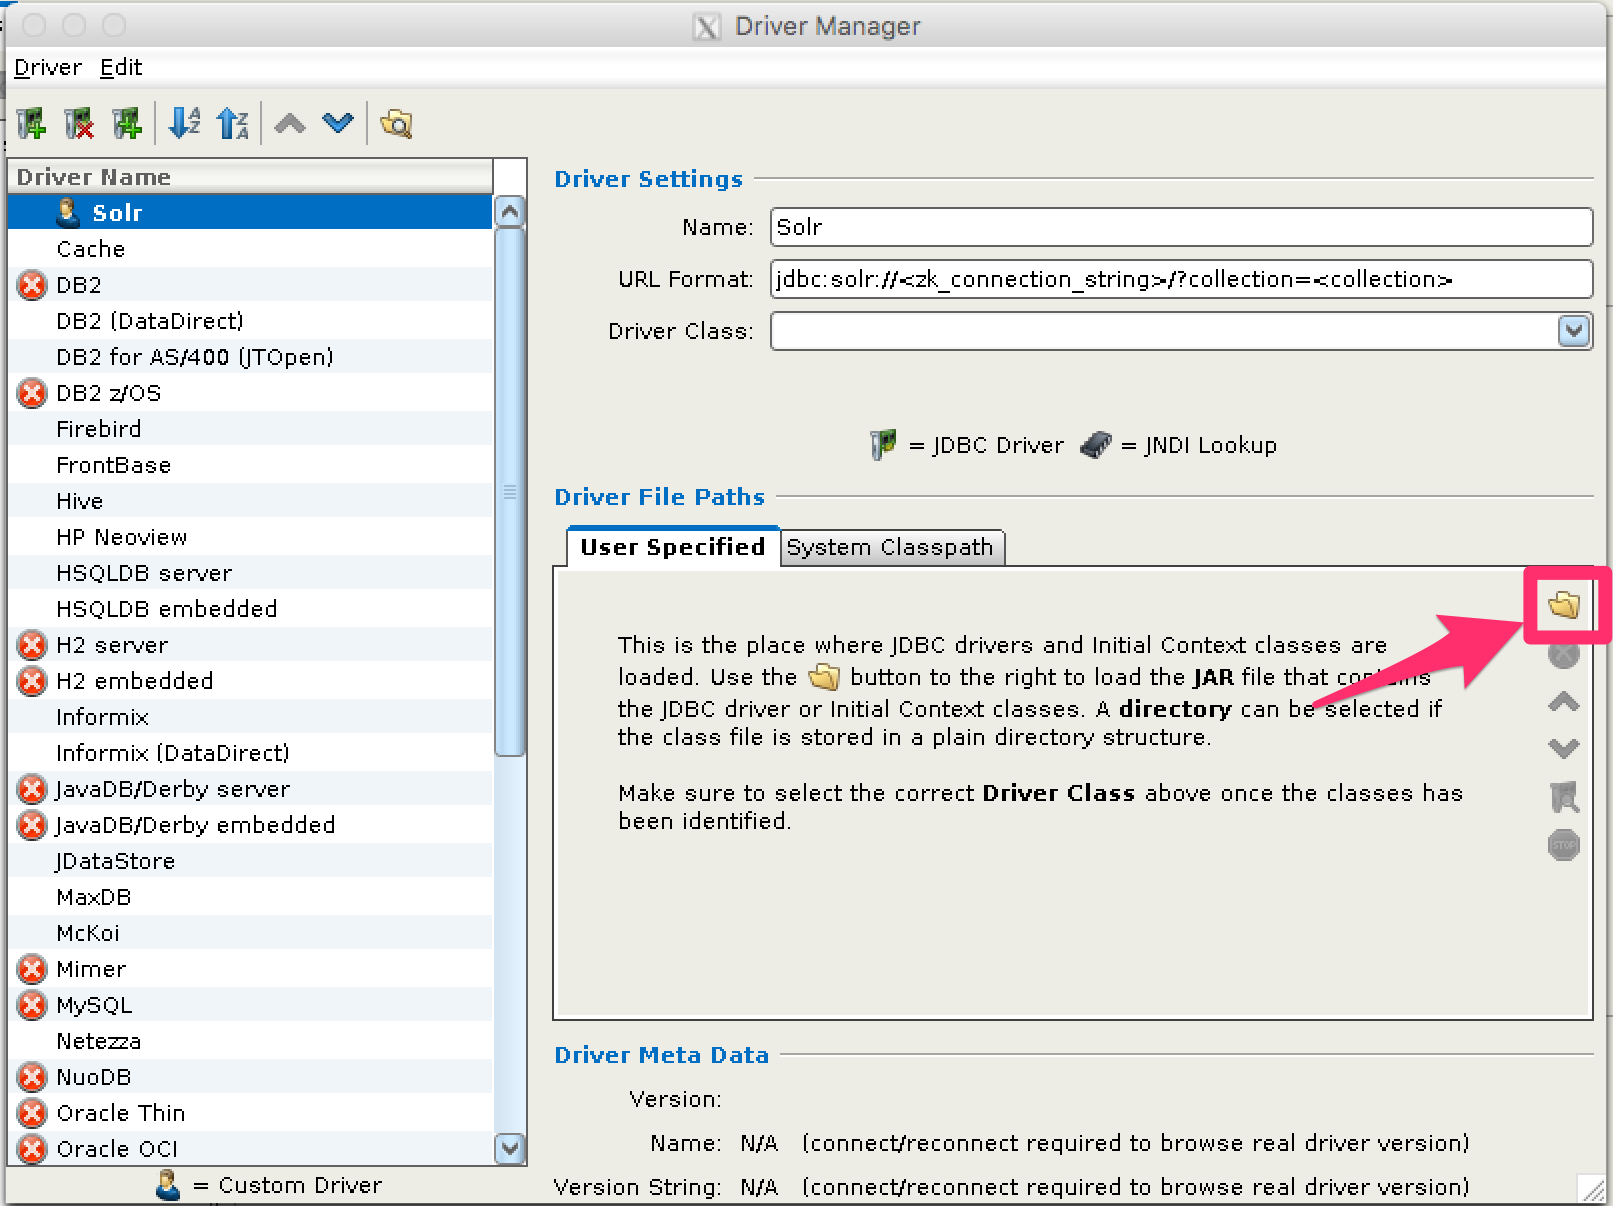
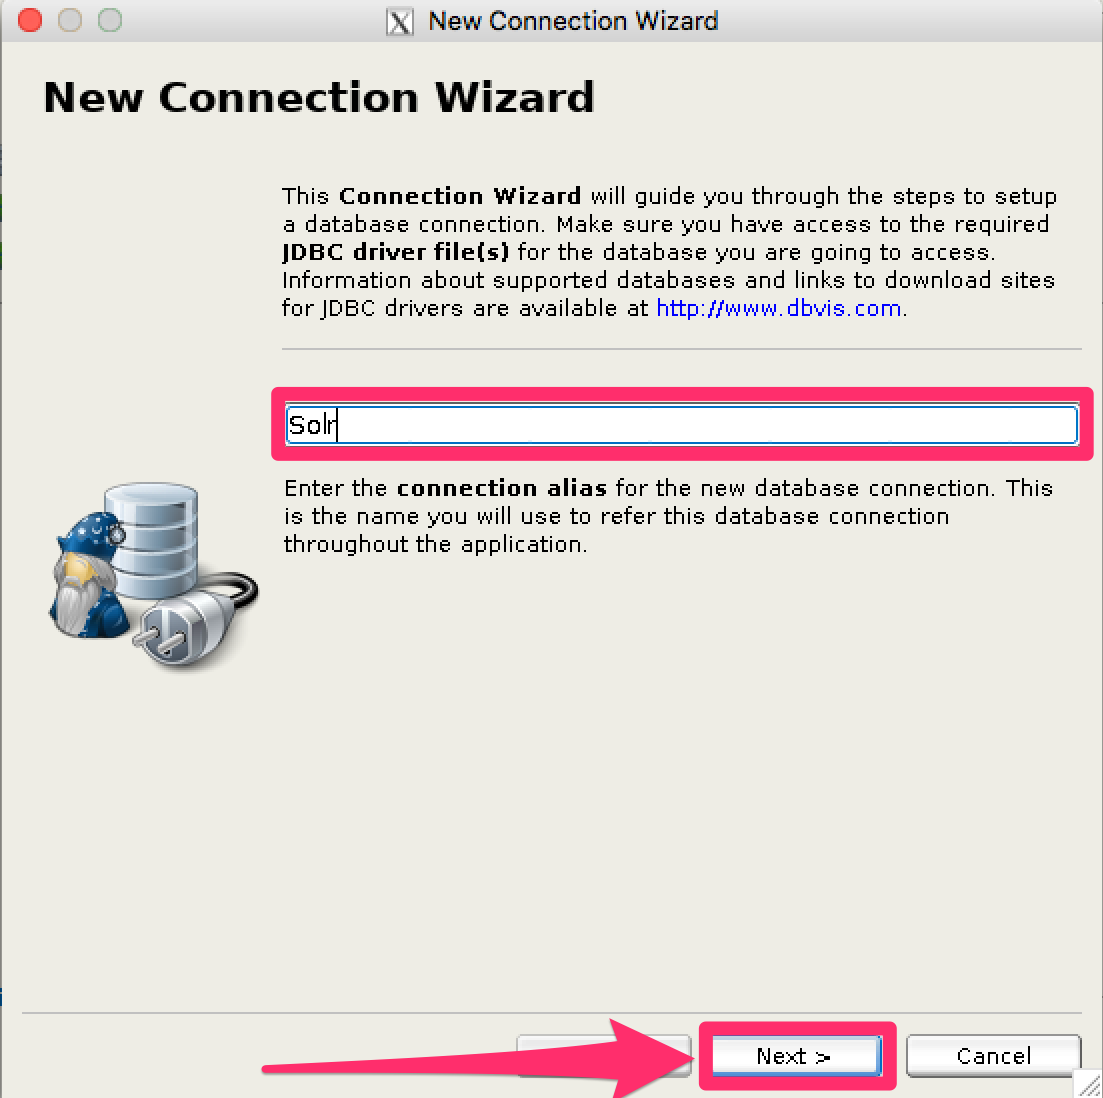
Name the Driver in Driver Manager
Provide a name for the driver, and provide the URL format: jdbc:solr://<zk_connection_string>/?collection=<collection>.
Do not fill in values for the variables “zk_connection_string” and “collection”, those will be provided later when the connection to Solr is configured.
The Driver Class will also be automatically added when the driver .jar s are added.
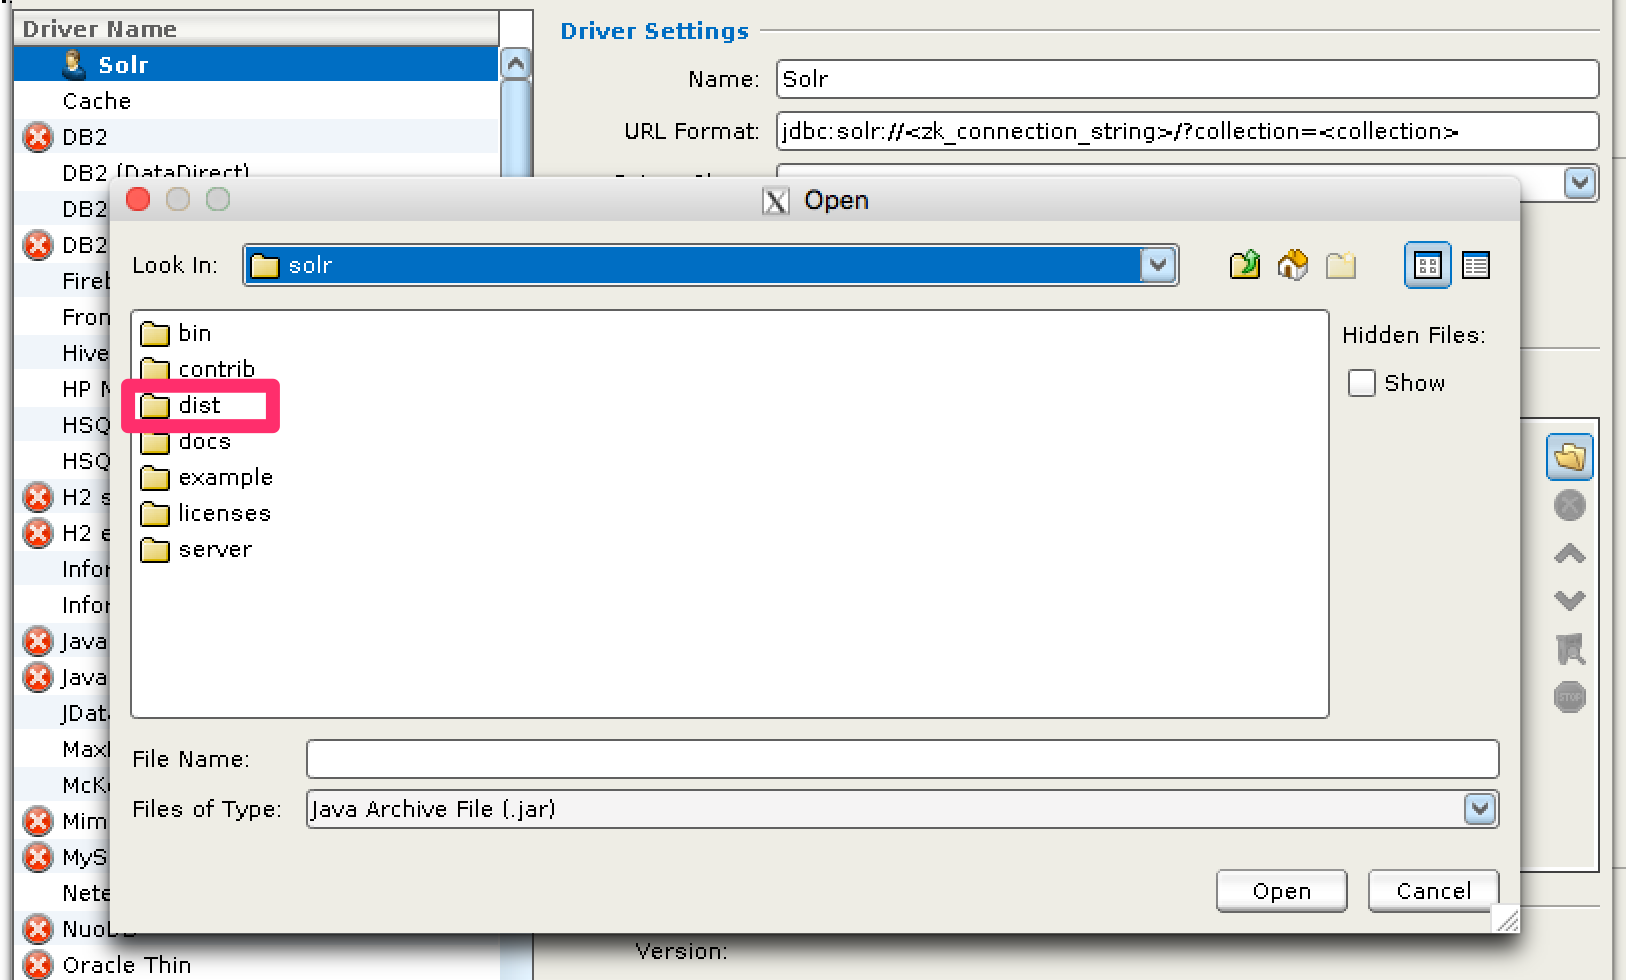
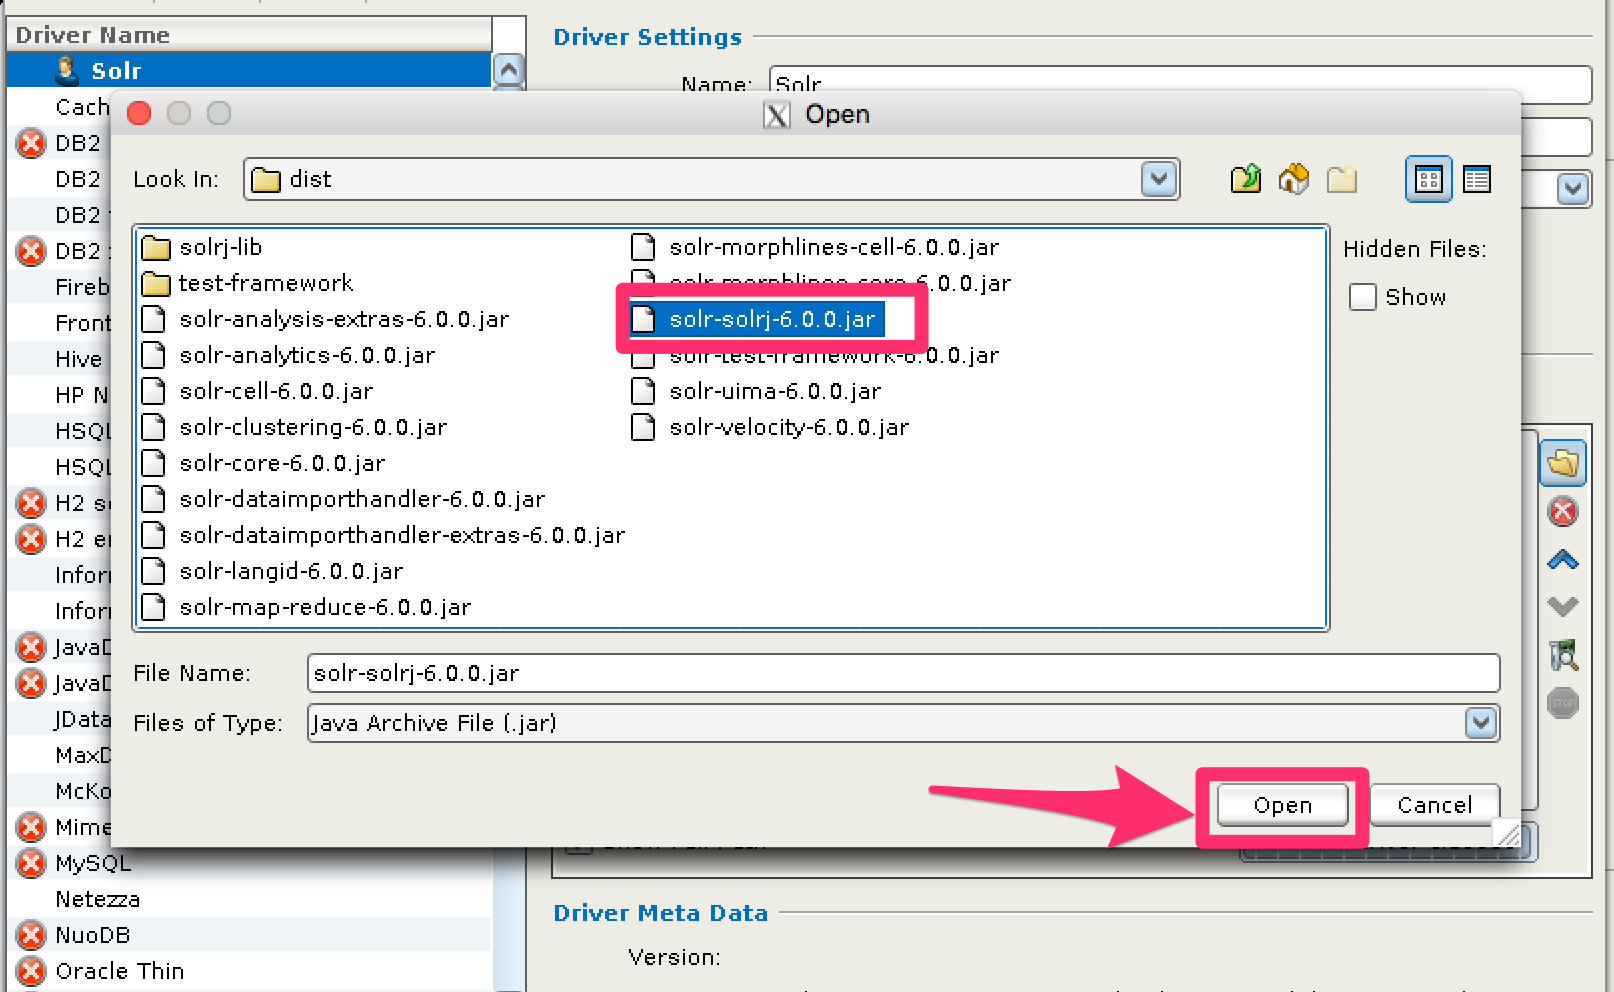
Add Driver Files to Classpath
The driver files to be added are:
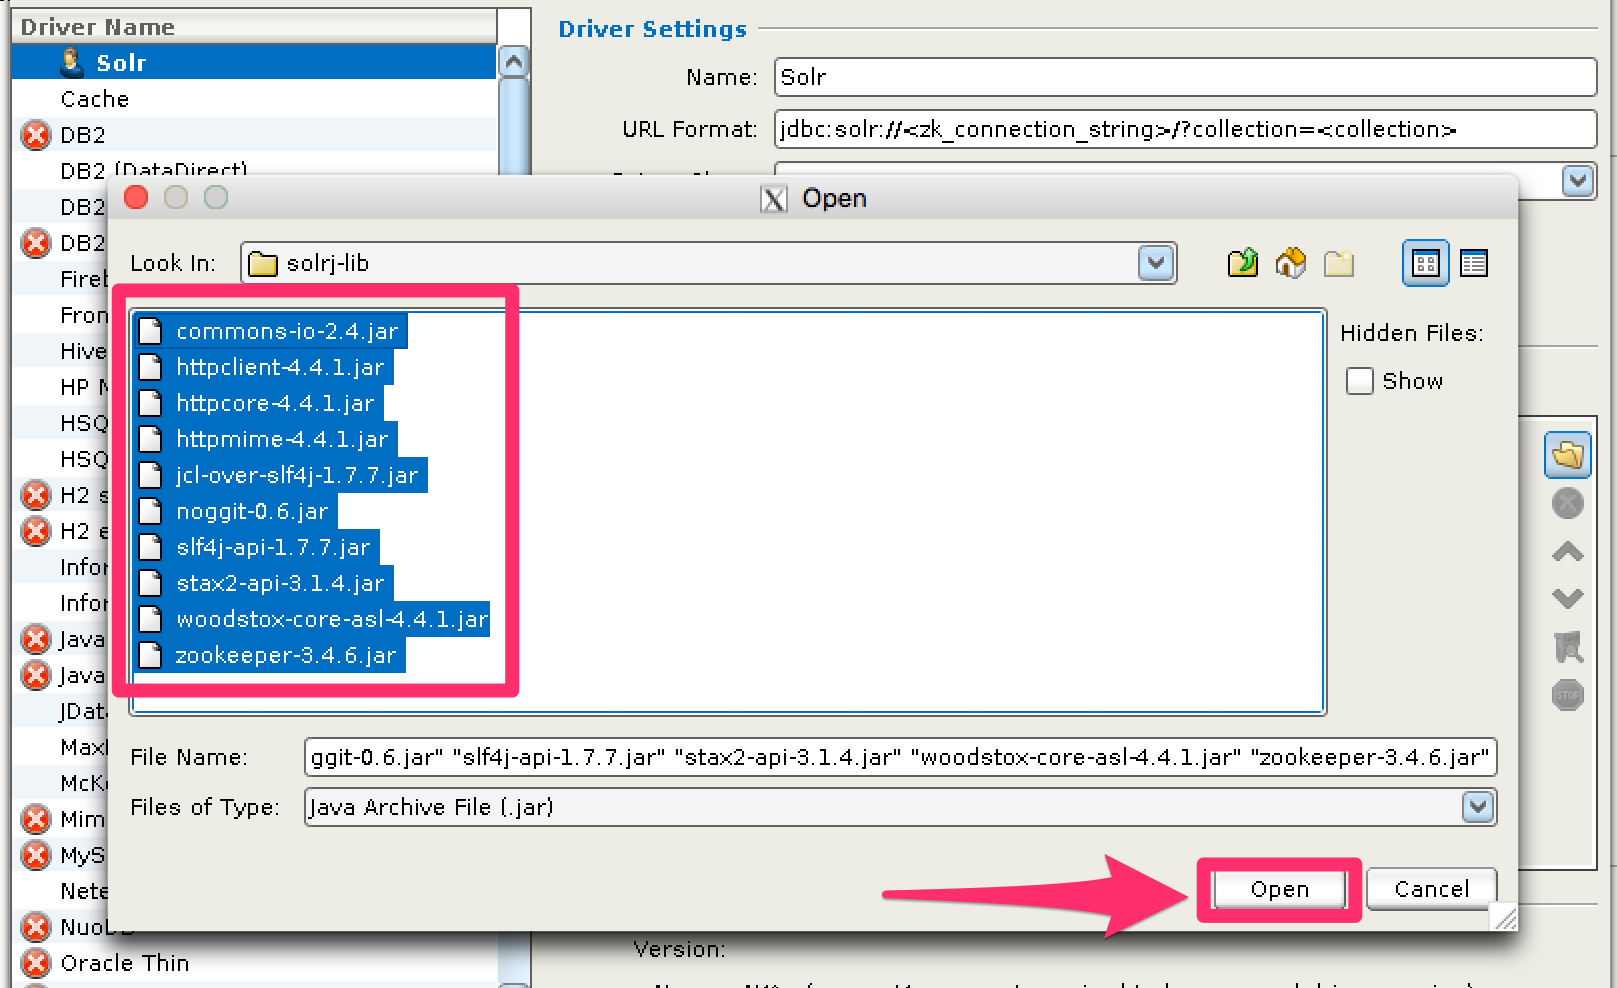
-
SolrJ dependency
.jars found in$SOLR_TIP/server/solr-webapp/webapp/WEB-INF/lib/*and$SOLR_TIP/server/lib/ext/*. In the Solr distribution these dependencies are not separated from Solr’s dependencies, so you must include all or manually choose the exact set that is needed. Please refer to the maven release for the exact dependencies needed for your version. -
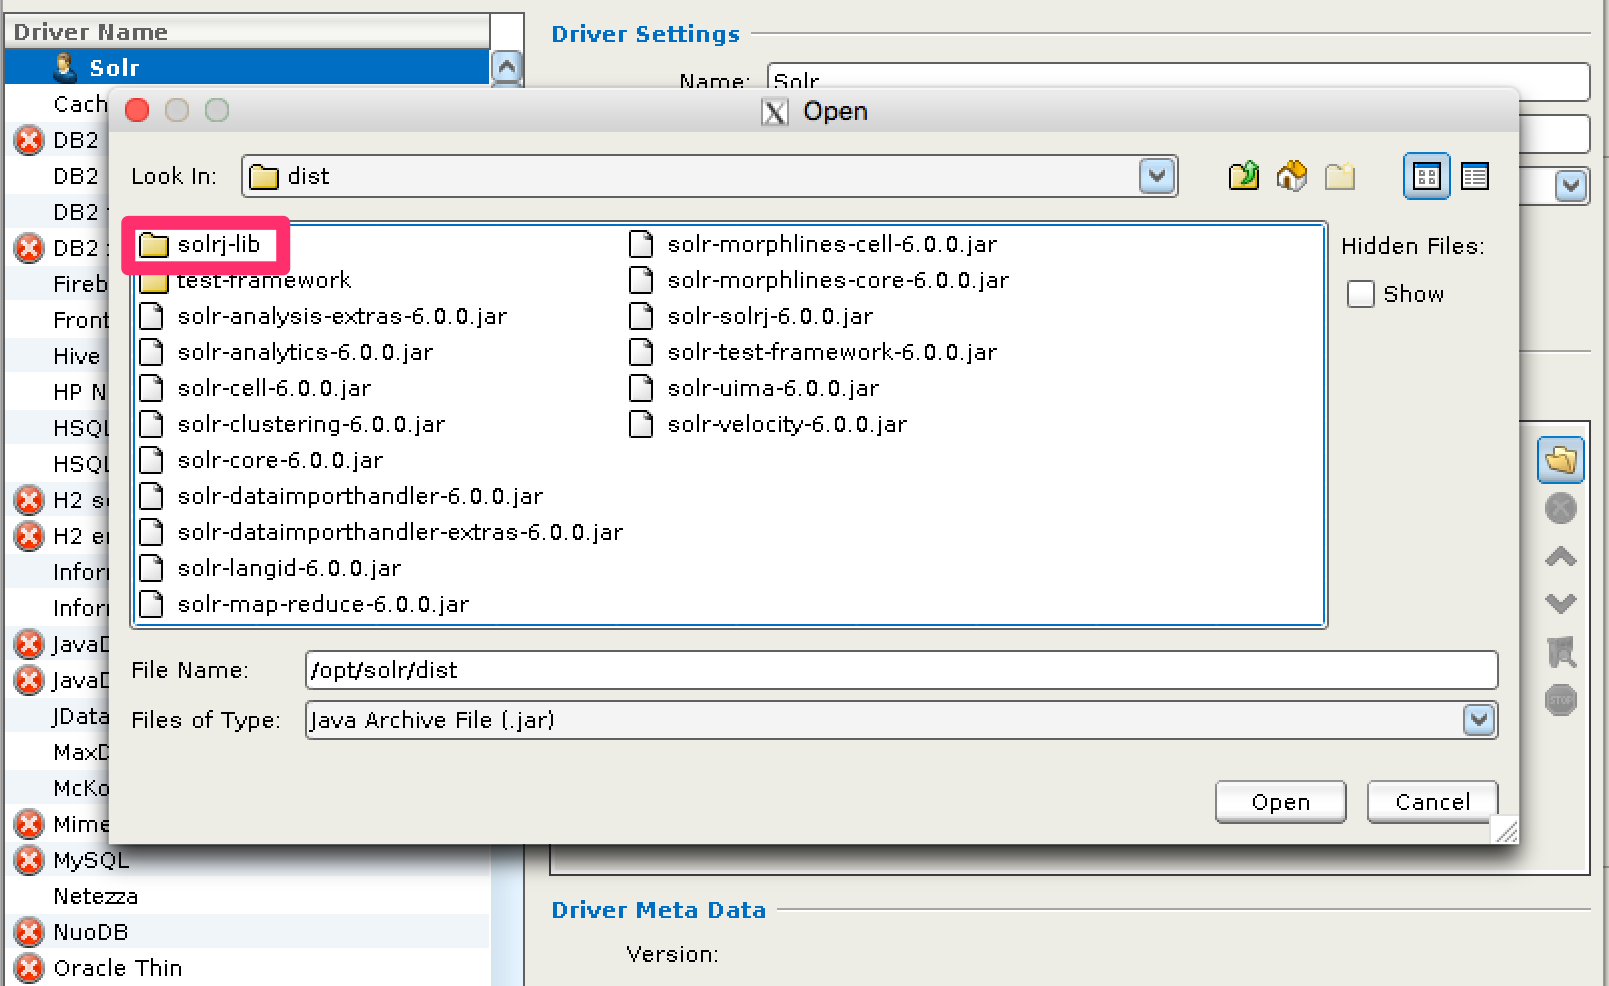
The SolrJ
.jarfound at$SOLR_TIP/server/solr-webapp/webapp/WEB-INF/lib/solr-solrj-<version>.jar